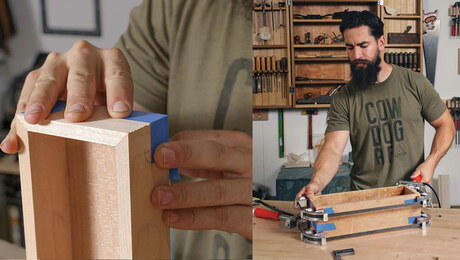
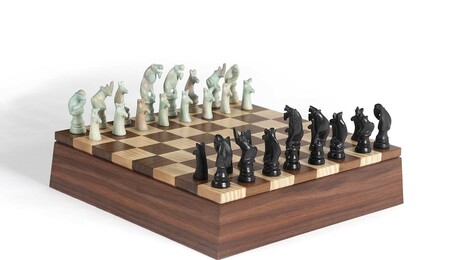
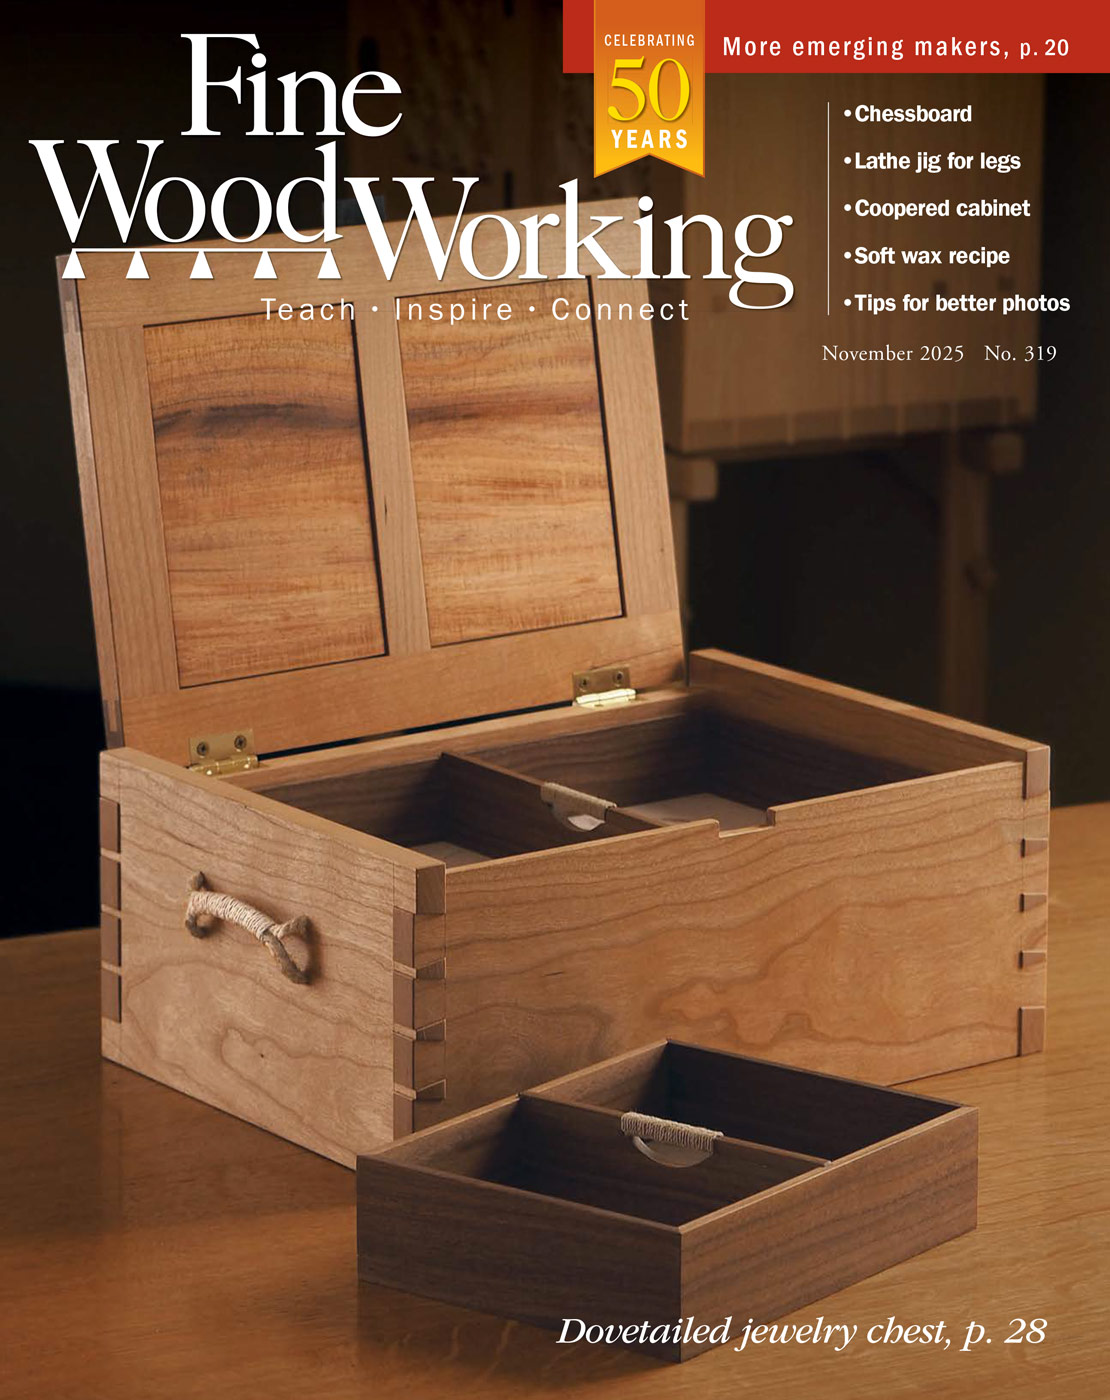
Erik Curtis’s Solid-Wood Chessboard
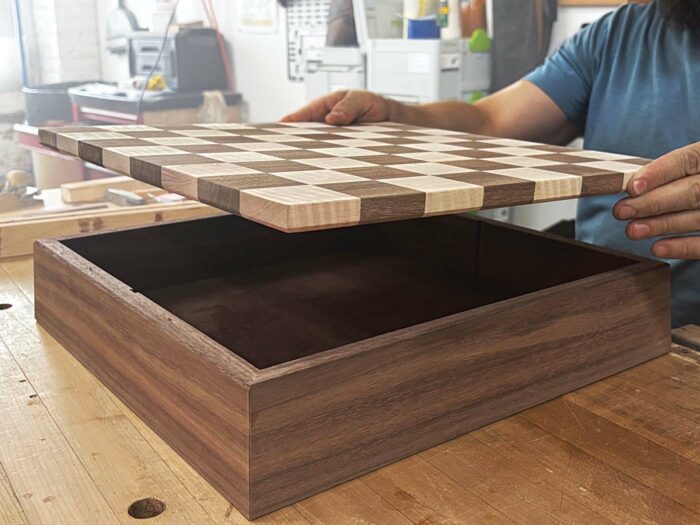
Stunning grain sits atop a mitered storage base.

The humble chessboard is an enticing project for woodworkers of all skill levels. You can pick just about any technique you want to learn or improve and employ it in building a chessboard without spending exorbitant amounts of cash on materials. Are you a new woodworker who needs to practice accurate machining skills and glue-ups? Are you a seasoned woodworker yearning to improve your casework skills? Make a chessboard with storage space! Or maybe you have that one stick of curly maple that’s just too beautiful to toss in the burn bin but isn’t quite big enough for any of the projects you normally tackle. Guess what? You need less than 2 bd. ft. of material to make a simple chessboard. So pull that stick from the dusty box of sacred offcuts, get a sharp rip blade in the table saw, and invite over that one friend who takes chess way too seriously—because we’re about to make a fantastic little chessboard and storage box.
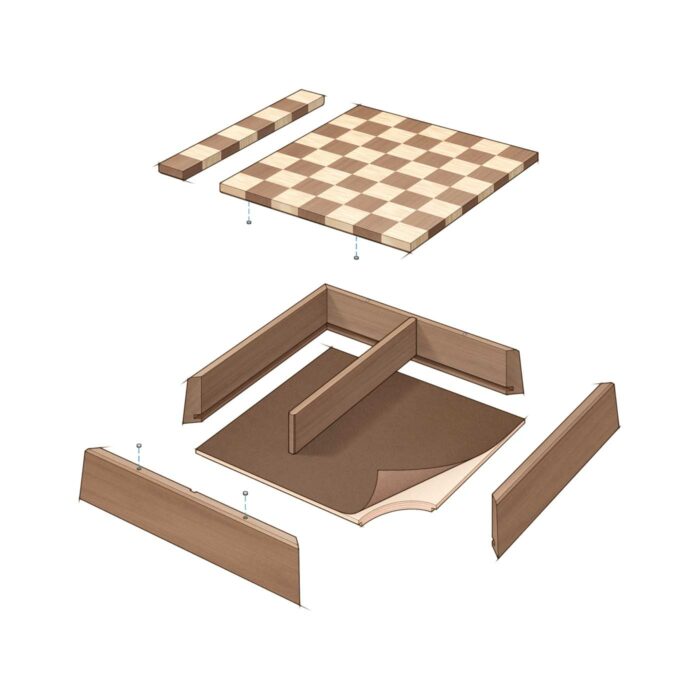
This particular chessboard employs solid-wood construction, so considering wood movement is crucial. Within just a few years, a 16-in.-wide board will blow apart any box or cabinet that attempts to contain it; a solid maple board that wide can move up to 5/16 in. between the wet and dry seasons! Beyond careful consideration of how the material moves, I’ll show you what I like to call the poor man’s compound miter, creating a geometric base that plays nicely with the pattern on the board itself.
The materials
Making a chessboard top is an exercise in small-scale manufacturing. If you’re new to woodworking, this is really where you want to focus your attention. Accurate milling, jig making, and machine setup are crucial to your success here, so take your time and work carefully.
Let’s start with material selection. I chose to use curly maple and quartersawn walnut. Sure, this stuff ain’t cheap, but I’m not using a whole lot of it. And I’m not just using fancy woods for the sake of being fancy. The ripples in the figured maple create a really interesting illusion: It seems at first glance that the grain lines are running perpendicular to one another. To the untrained eye this might not mean much, but I’ve had numerous seasoned woodworkers ask me if I’m worried it will pull itself apart through wood movement. They eventually realize that it’s only the figure they’re seeing. The boards are all glued in line, and wood movement is accounted for. It’s a fun bit of trickery to use. That said, plain flatsawn maple will do just fine if you’re on a budget.
Board construction: First lamination
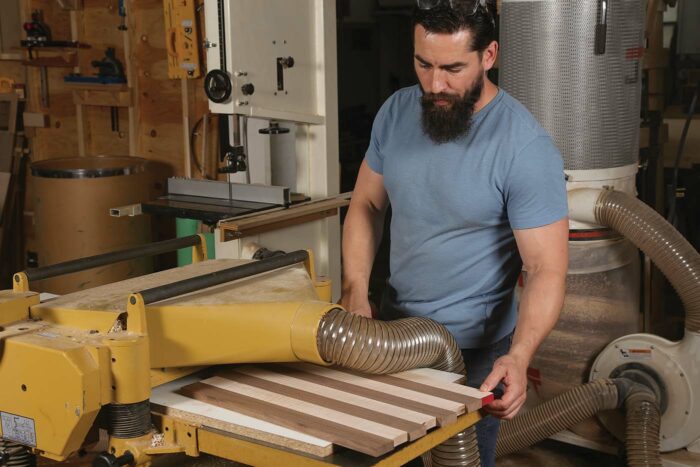
I finish my board at 5/8 in. thick, but to start I mill the stock down to around 3/4 in. Bear in mind that I have a 22-in. planer, so planing this down to final thickness after gluing up is no problem for me. However, if you have a 13-in. planer and have to finish this with a hand plane or random-orbit sander, consider taking your boards down to 11/16 in. so there is less work for you down the road. Working with thinner stock just means you will have to be more mindful during the glue-ups.
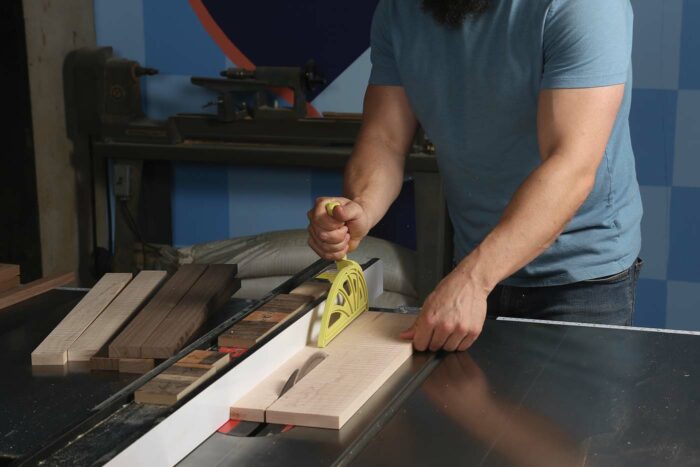
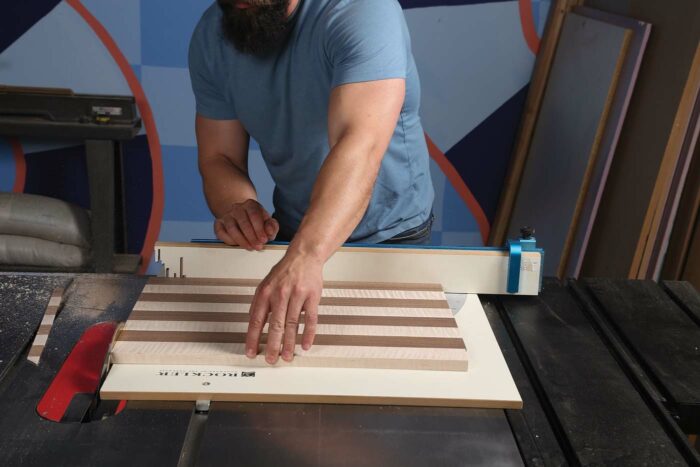
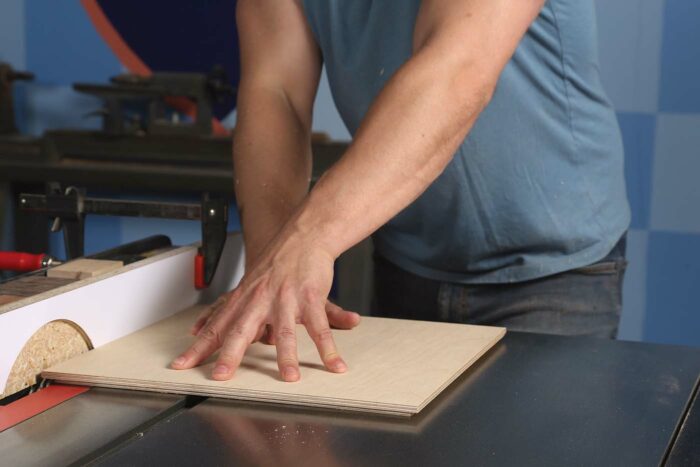
After thicknessing, I chop my boards to around 20 in. long and then take them to the table saw. This is where the first critical measurement comes into play. Set the fence carefully to 2 in., and rip four strips of walnut and four strips of maple. Be sure to have a good, sharp blade, as any blade deflection or burn will show through on the final piece. Try to leave the saw set up if you can; it will make life much easier down the road. With the strips ripped to final width, lay them up in an alternating pattern and edge-glue them. I like to use Titebond III here, as there are multiple strips and the extra open time of TB3 is helpful for alignment purposes, though it’s not critical. Keep the strips flat, and use cauls if necessary.

Board construction: Second lamination
Once the first lamination is dry (after about an hour), take it out of the clamps and check it for flat. If your glue-up was accurate, you can scrape off any excess glue and go right to the table saw. If there is substantial offset between strips, you may have to hand plane it flat and then run it through the planer to skim off the top and create a flat surface.
Go back to the table saw and, using a crosscut sled, cut across the grain to square up one side. Remove the sled, place the lamination against the fence, and cut strips to the same 2-in. width. Place the strips off to the side, keeping them in order.
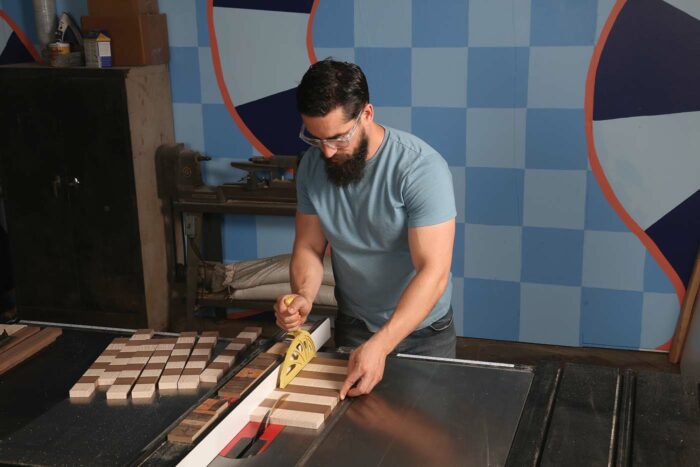
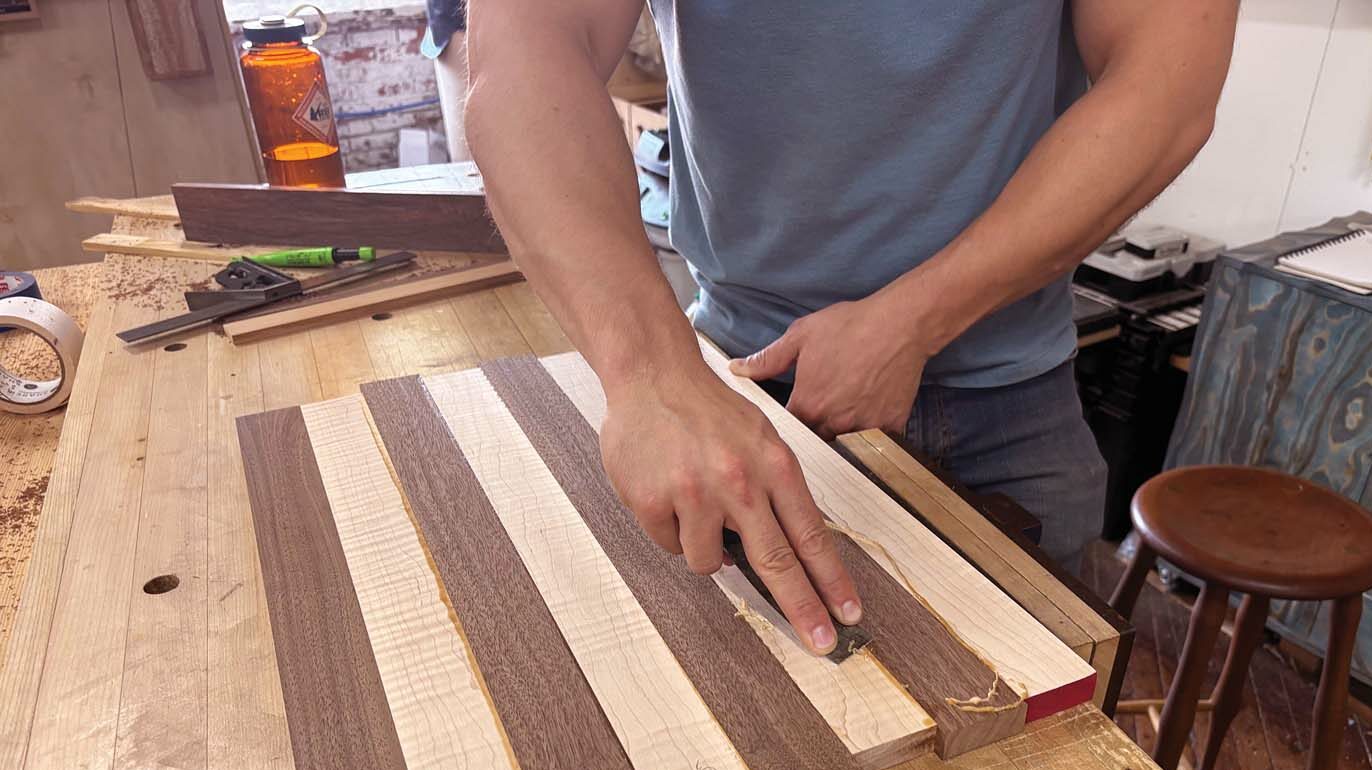
With the strips cut and dry-assembled, lift every other strip out of the assembly and rotate them end for end, creating the chessboard pattern. Take care to line up the seams; otherwise your chessboard will look more like an M. C. Escher drawing than a game board. Take your time with the glue-up and ensure it’s flat. Again, use cauls if necessary. Because you are gluing up end grain in this step, consider using Titebond Quick and Thick. TB3 will also work just fine if you seal the pores first. While you don’t see end-grain to end-grain glue-ups all the time, they are a technique that can be used successfully in non-load-bearing circumstances like this. However, if it helps you to sleep better at night, feel free to use biscuits or a few Dominoes to reinforce the joint.
Once the glue is dry, remove the clamps, scrape any excess glue from the surfaces, and go straight to the planer. You also can do this with a hand plane or belt sander if your planer isn’t wide enough; it’s just slower than molasses on a winter day. Remove just enough material from the assembly to get a flat face, then flip the board over and machine the other side to final thickness.
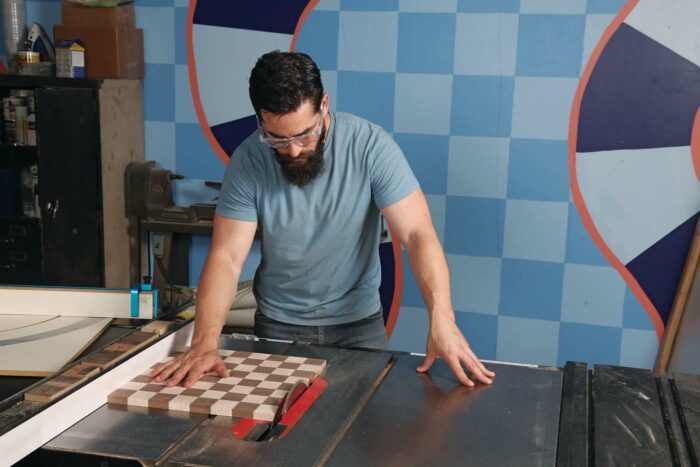
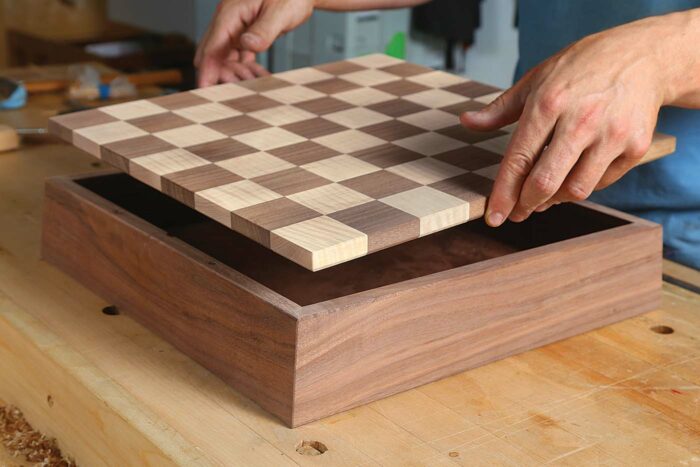
At this point, if you want just the chessboard, feel free to bevel the edges, throw some finish on it, and call it a day. But I’m not going to apply finish now, as I’m not done just yet. No, I’m making a box that will hold my chess pieces and will act as an elegant pedestal upon which I can display this cornucopia of figured-maple goodness.
 |
 |
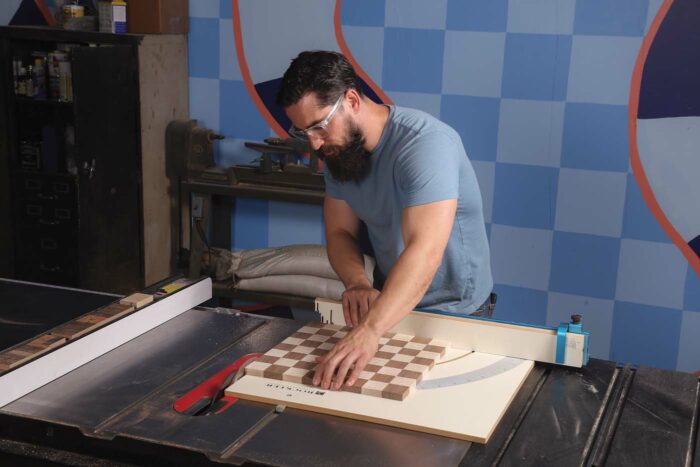
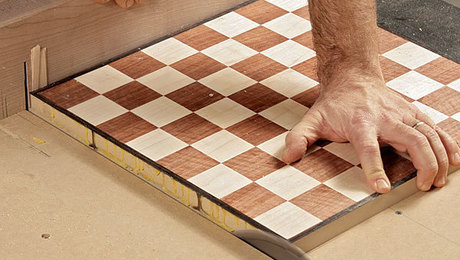
| Once the checkered glue-up is dry, make a skimming crosscut to square up two sides. | Ever so slightly rip the other two sides to square up the entire board. |
Box construction
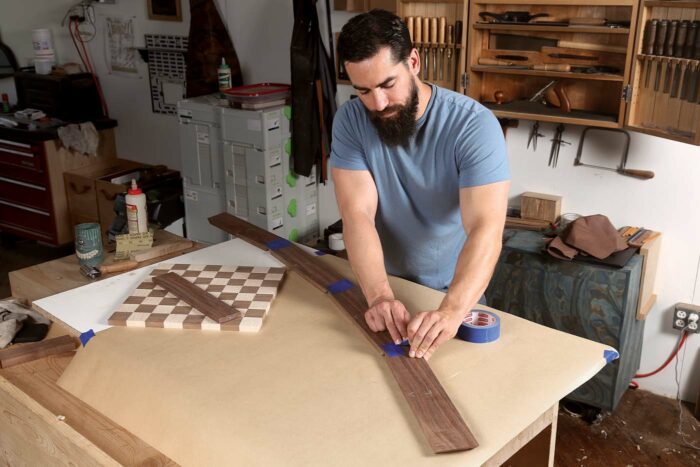
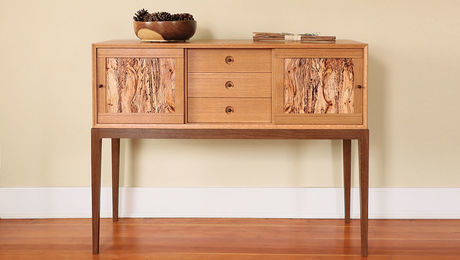
I prefer a darker wood for a base, as dark colors have more visual weight to them, grounding the object and making whatever sits atop feel a bit more important. Consequently, I’ll use more of the same straight-grained walnut that I used on the top. The joinery is miters, the bottom is trapped in a groove, and a center divider creates separate compartments for the pieces.
It’s the tapered parts that set this box apart. The poor man’s compound miter is nothing more than a standard miter with a taper on one face. This gives all the visual appeal of a compound angle without all the headaches associated with it.
It is entirely unnecessary to taper the walls of this box. If that step is intimidating to you, ignore this section and make a simple square box using straight miters with splines, or dovetails, or even mortise and tenons. However, I think a slight taper gives visual interest to an otherwise plain base.
Groovin’
Start with cutting the groove for the bottom. Rip the first cut of the grooves on all four pieces, move the fence over 1/8 in., and rip again, creating a 1/4-in. by 5/16-in. groove. You can also do this with a dado stack, but for simple grooves like this I most often just take two passes with a standard blade. It will leave a V-shaped bottom, but your groove will be trapped in a miter, so no one will ever know but you and me and everyone else who reads this article.
Dadoes stop in the grooves
For the next bit of joinery, I’ll cut a dado on the inside face of two of the box sides. The dadoes will hold the divider that separates the dark and light chess pieces during storage. For a simple dado like this, I use a scrap piece of wood as a fence, a square, and some double-stick tape—basic stuff, but there is no reason to overcomplicate such a simple process.
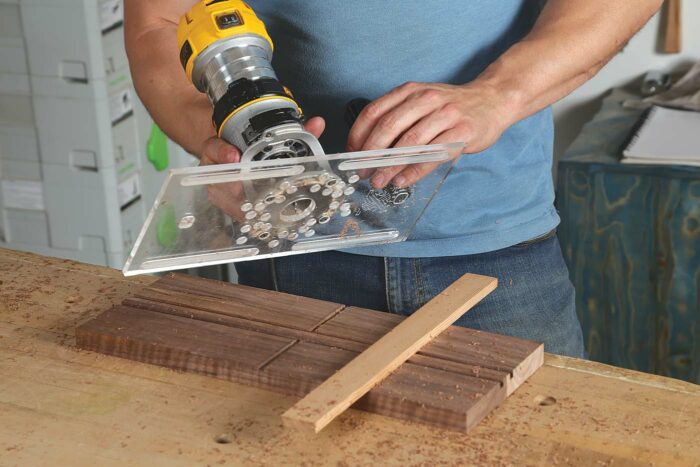
To start, double-stick the pair of box sides down to your work surface, with the bottom edges touching one another. Make sure the edges are perfectly aligned; if they aren’t, your dadoes won’t be either. Next, draw a centerline. Then mark the offset from the center of your trim router to the edge of its base, mark yourself a line, and attach your makeshift fence to your workpieces using a square and some double-stick tape. Rout from the outside (top) of your workpiece toward the groove (bottom), stopping when you pierce into the groove. Turn off the router, reset on the other piece, and repeat the same operation.
Tapers and miters
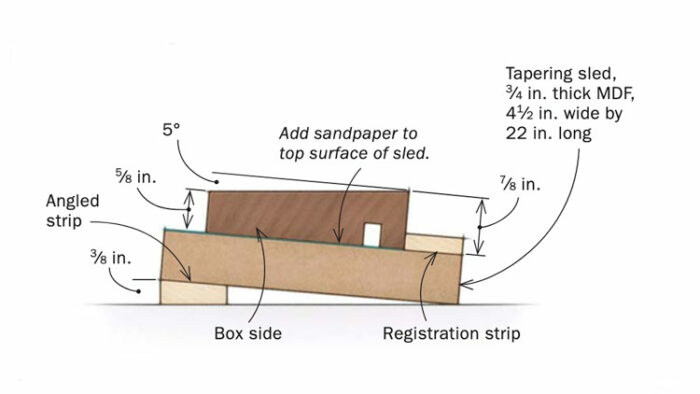
To make a very simple tapering sled for the planer, grab some scrap 3/4-in. MDF and a small strip of wood. Set your saw to about 5° and rip a strip that is 3/8 in. at its thickest and 22 in. long. Glue the strip on one side of your MDF. You have just made a tapering sled. I add another registration strip on the top and also a little sandpaper to prevent my pieces from slipping.
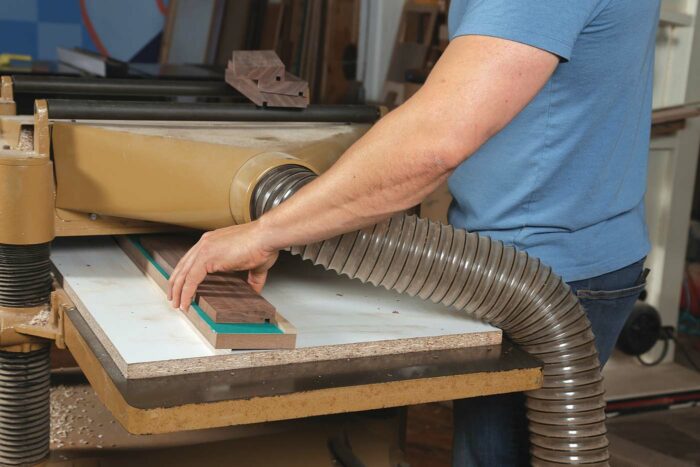
I use this sled in the planer with my walnut sides on it to plane them to a taper across their width. After planing, mark the tapered face of the pieces so that when you cut the miters you are always registering with the flat, grooved and dadoed side down to keep your joinery square. Finally, cut the miters using a crosscut sled with a stop and the table-saw blade set to 45°.
A divider and bottom round out the construction
To make the divider, simply mill another piece of walnut and, with a dado stack at the table saw, cut the tenons on the ends. For the bottom, given its large size, I typically use a dimensionally stable sheet good such as plywood. If you use solid wood for the bottom, you will have to account for at least 5/16 in. of wood movement. There is absolutely room to do that. However, if like me you’re going to line the inside of the box with suede, there is no benefit to using solid wood.
Using a 1/2-in.-thick piece of plywood (or solid wood), cut the bottom piece square. Then, using a dado stack on the table saw, cut a rabbet around the perimeter to create a tongue on all four sides. Check the fit on the grooves and skim off another pass if needed. Be mindful that your bottom will be thicker when you attach your suede liner, so be sure to account for that when cutting your groove.
Suede liner
 |
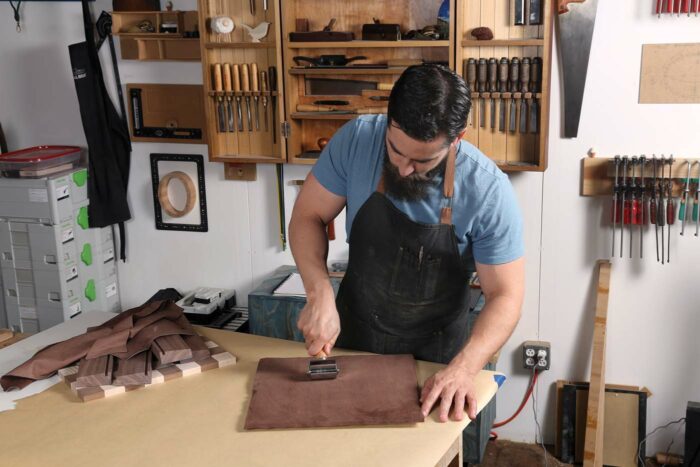 |
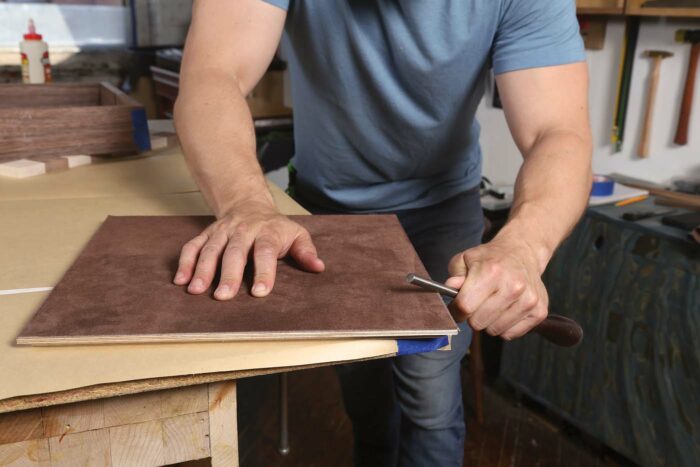
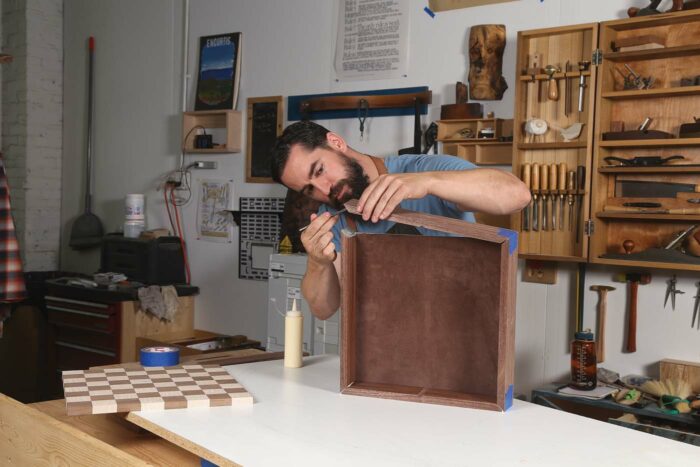
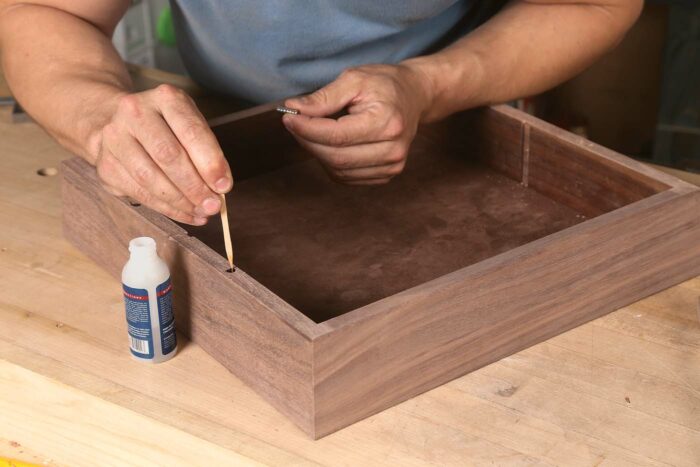
The rabbeted plywood bottom makes a good template to size and cut the suede. Placing the suede under the template and pressing firmly, use a sharp knife to cut the suede a bit oversize. With a small chip brush or flux brush, spread a thin layer of yellow glue on the box bottom. Carefully glue the suede in place, and press it smooth with a brayer. Once the glue is dry, cut the suede to exact size with the knife.
 |
 |
Surface prep, glue-up, and liners
With the components cut and joinery done, it’s almost time for glue-up. But before you go anywhere near a glue bottle, dry-fit everything to make sure alignment is good and the pieces fit together cleanly. If that’s the case, take a few passes with a hand plane on the internal walls of the box and hand-sand all the pieces. Then apply four or five coats of spray-on shellac to the interior, making sure to tape off the miters so they don’t get finish on them.
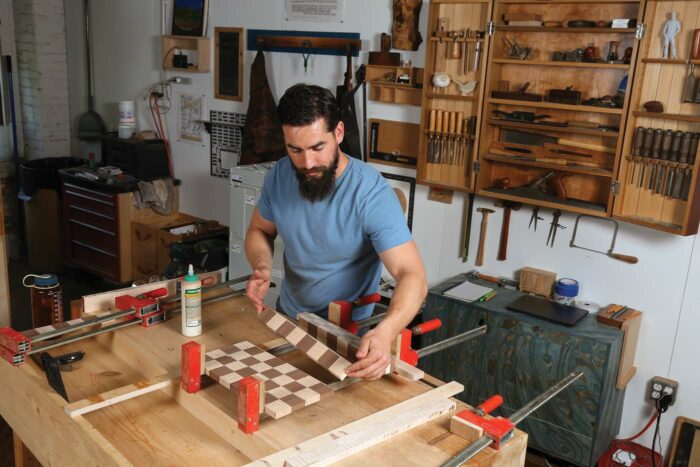
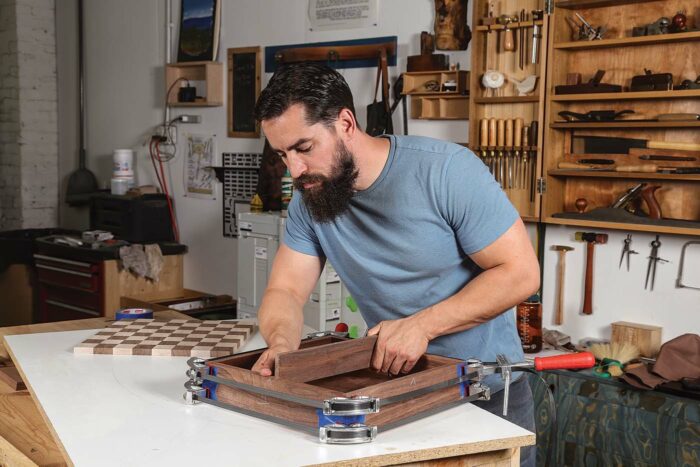
Glue the box together using blue tape on the miters and trapping the bottom. Reinforce the pressure with band clamps, and glue in the divider.
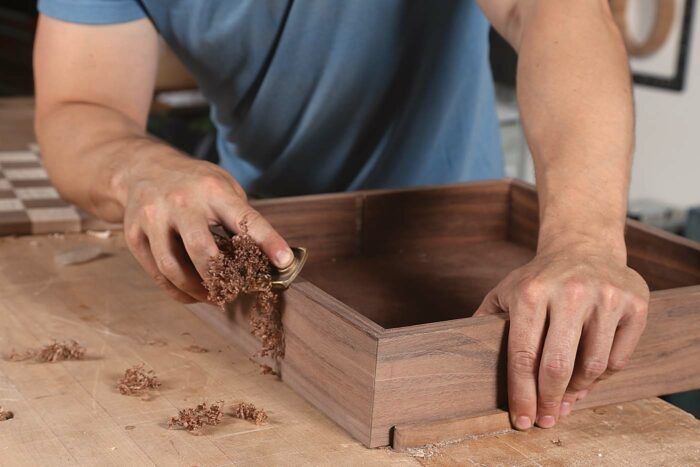
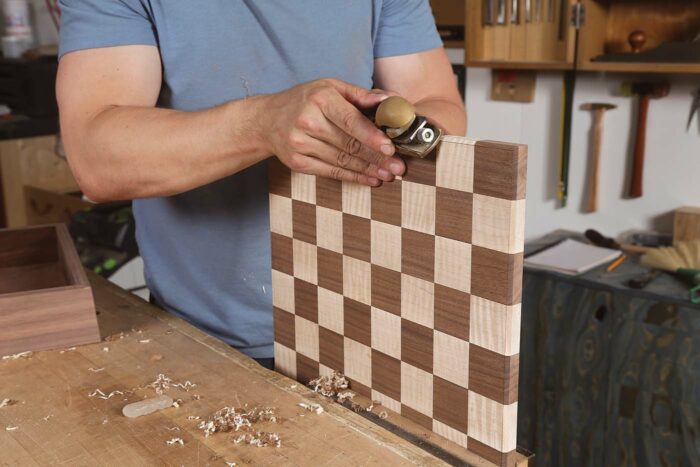
After a couple hours, remove the clamps and blue tape and prep the outside walls of the box. A light sanding or a few passes with a sharp plane will do the trick. Then, with a block plane, put a heavy chamfer around the bottom edge of the chessboard and the top outside edge of the box. Be sure the chamfers are sizable, as they will act as a finger pull to remove the board from the box.
 |
 |
Magnets connect board to box
 |
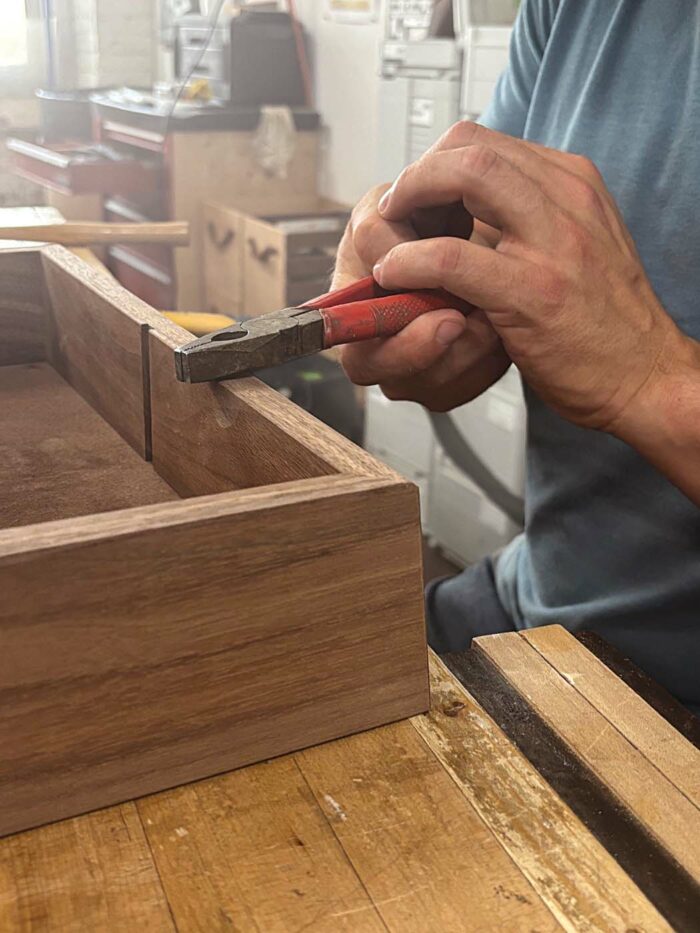 |
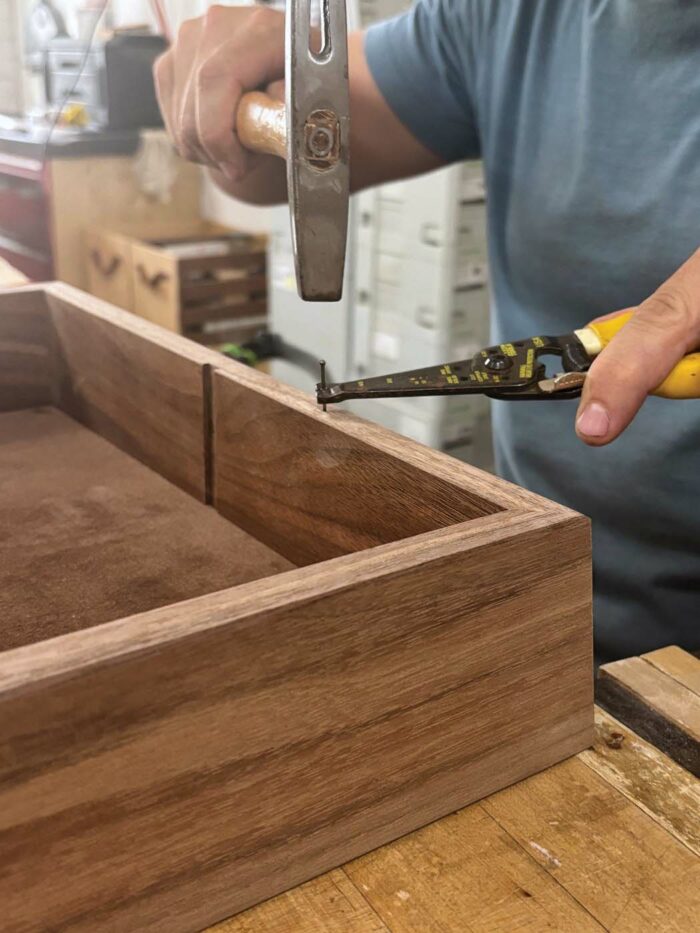
Now we’ve come to the aforementioned trouble with solid wood chessboards—they move. While there are innumerable ways to deal with this movement, one exceedingly simple way is to use magnets to attach the board to the box.
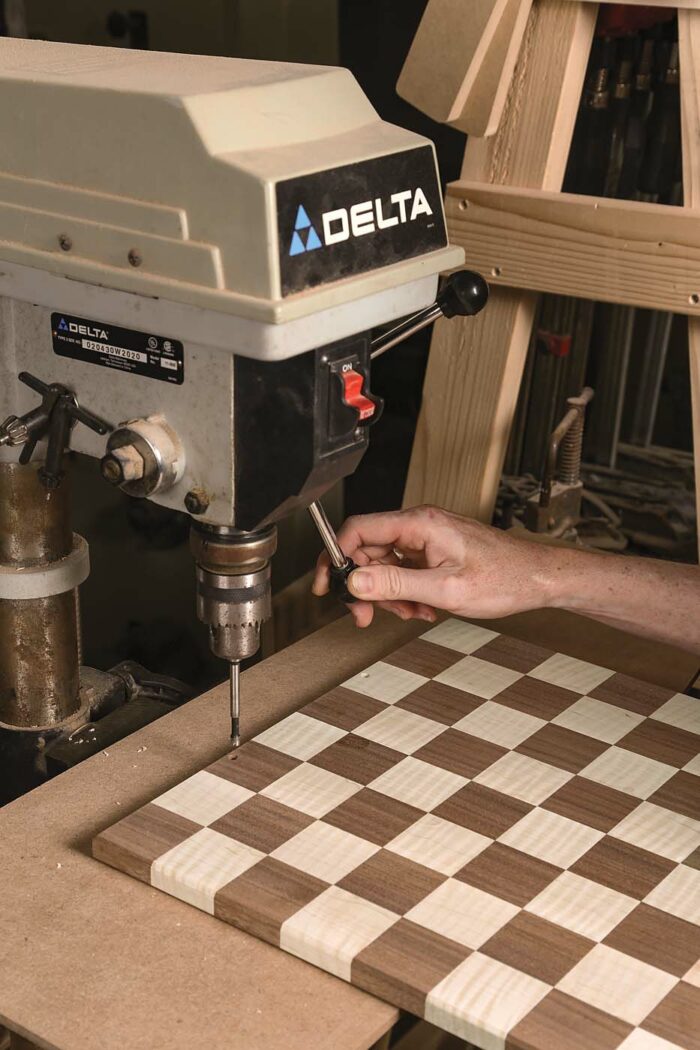
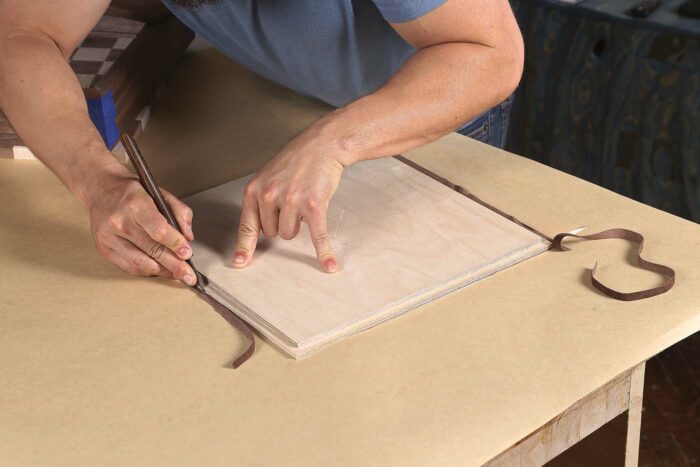
Start with the box. Mark a centerline on the top edge of the two walls that are dadoed. Measure away from the center in both directions and mark for the magnets. You can transfer those locations to the chessboard by tapping in tiny brads, trimming off the heads, and pressing the chessboard to the box to create small indentations. Drill holes just as deep as your rare earth magnets are thick. If everything aligns, give your board a final sanding and glue the magnets in place.
Applying finish
Shellac is an excellent choice for this kind of project, as is a wipe-on poly. I pad on four to five coats of shellac, buffing with steel wool between coats, and then I finish with a coat of wax.
Erik Curtis is a woodworker in Philadelphia.

Fine Woodworking Recommended Products
Suizan Japanese Pull Saw


Comments
I built almost the exact piece years ago (40 ish) but instead of flipping them I added a maple and walnut strip so I could just shift them one position left or right. Thereby keeping the same face of the wood facing up. Great article Erik and I enjoy your videos.
As a chess board/box aficionado bordering on fanatic, I love your work. Wonderful job! Your use of curly maple is inspiring. A pic of my most recent chess project is attached.
Log in or create an account to post a comment.
Sign up Log in